Segmenting an orange (or any other citrus fruit you choose) is one of those techniques that can seem pretty intimidating. But, really, it’s a breeze and will make you feel like a pro in no time. Here is a simple step-by-step guide that will give you beautiful citrus segments every time. The jewel-like pieces can be tossed in salads and side dishes, reduced into jams and marmalades, or folded into baked goods (look out for the blood orange olive oil cake later this week!).
Others (chef types and foodies) call this technique “to supreme a citrus fruit” which just means to remove the peel, pith, and membrane from the fruit separating it into segments. Why go through the extra trouble of segmentingt? The pith of the fruit can be pretty bitter so removing this white part guarantees sweetness without that bitter taste which can be especially important in jams. Plus, I mean they just look so fancy.
{How To} Segment an Orange (or any other citrus fruit)
If your recipe calls for the zest of the fruit, make sure to zest before starting to supreme. Look for the largest fruit you can find as it is easier to handle (larger grapefruit, orange, tangerine, etc.)
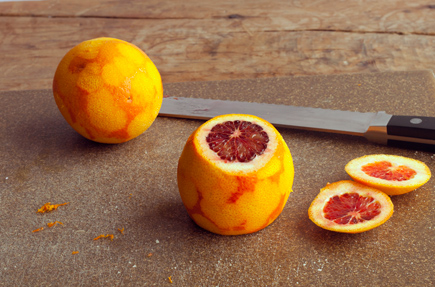
Cut the top off of the fruit.
Next, cut off the bottom of the fruit so it stands on its own. This gives you a stable cutting surface to remove the rest of the peel.
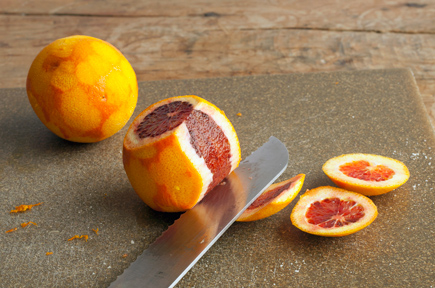
Using the knife of your choice, cut away the peel starting at the top and using the fruit as your guide. Try to get as close to the peel/pith as possible while reserving as much fruit as possible. You can always cut away more pith/peel, but can’t get that fruit back once it has been cut off. Cut in pieces until you have cut the peel off the entire fruit.
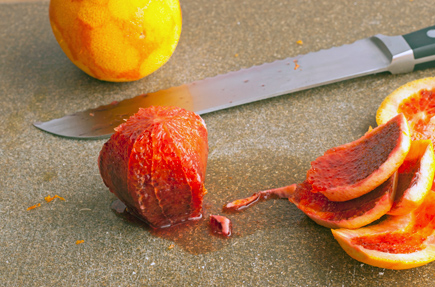
Trim any remaining white pith from the outside of the fruit.
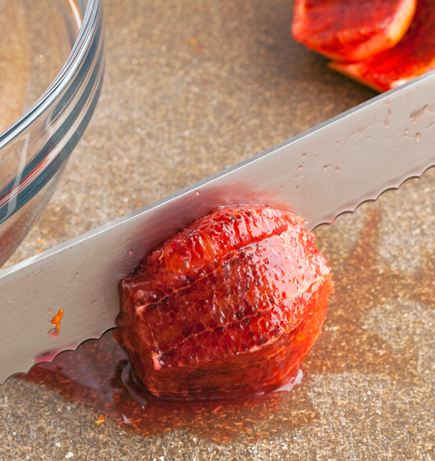
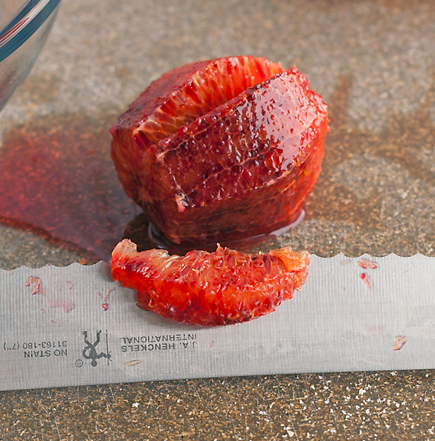
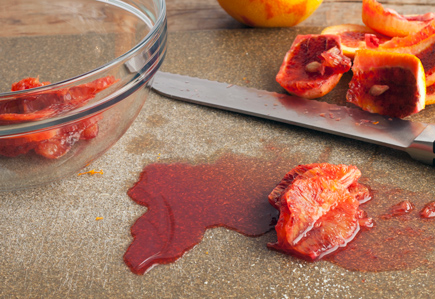
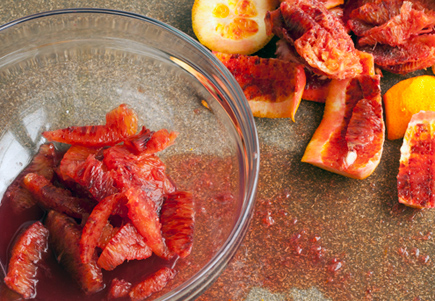
Using your knife (a paring knife works well for this step; unfortunately, ours was somehow lost in the move), cut against the membrane and the fruit segment until you reach the center of the fruit. Go slowly so you don’t cut any of the membrane. Cut against the other side of the fruit segment and membrane and remove the segment with your knife. Have a bowl ready to collect the juices and the fruit segment.
Repeat with remaining segments.
Voila! You now have segmented citrus fruit. Practice makes perfect so go slowly at first to avoid any finger injuries. Once you get the hang of it, you will be speeding through the segmenting process. Check back later this week to see what’s in store for these blood oranges!
Follow my blog with bloglovin or subscribe here.


Dawn Hutchins
March 31, 2011 at 11:11 amYou have such a beautiful blog. Your photos are gorgeous.
brooke
March 31, 2011 at 11:21 amThank you so much! That is so nice 🙂
methods & madness… recipes & ramblings from the culinary classroom | She Paused for Thought
October 17, 2011 at 4:08 pm[…] when we were served grilled chicken with caramelized “julienne” not “sliced” onions and orange segments. Roasted diced potatoes and a refreshing Thai style shredded cabbage salad nicely rounded out the […]
Windermere House Apartments - Chicago, IL - Learn How to Prepare an Orange the Easy Way at Your Windermere House Apartment in Hyde Park
May 28, 2014 at 10:02 am[…] to Segment an Orange (Or Any Citrus Fruit) [The Kitchn] How to Segment an Orange [Waitrose] How To Segment an Orange [Plum […]
JOSEPH
July 11, 2014 at 12:48 amThanks for the information. Very helpful!
The Palms at Altamonte Springs Apartments - Altamonte Springs, FL - Here’s How to Segment Citrus Fruit Like a Pro Chef
July 16, 2014 at 2:11 pm[…] to Segment an Orange (Or Any Citrus Fruit) [The Kitchn] How to Segment an Orange [Waitrose] {How To} Segment an Orange [Plum […]